
WordPress - How to Create a Staging Site
What is a Staging Site?
A staging site is a clone or duplicate of your live website that is used for testing changes before making them live. In simpler terms, it’s a copy of your website where you can make changes that don’t alter your live website until you deploy them. Staging sites help you catch errors so you don’t end up breaking your live website.
Your staging website is not available to the public. And unless you deploy them, any changes made on your staging site don’t affect your actual website. You control the process, and your staging website will only overwrite your live website when you’re ready. It can allow you to upgrade your website without disrupting your current published website and customer experience.
There are multiple ways to create a staging site for WordPress. You can build a staging environment using any of the following:
- Bluehost plugin
- WordPress plugin (WP staging or WP Stagecoach)
- Softaculous App installer
- Manually through your cPanel (File Manager or Duplicator)
Using the Bluehost Plugin
Creating a staging site using the Bluehost Plugin:
- Log in to your WordPress site.
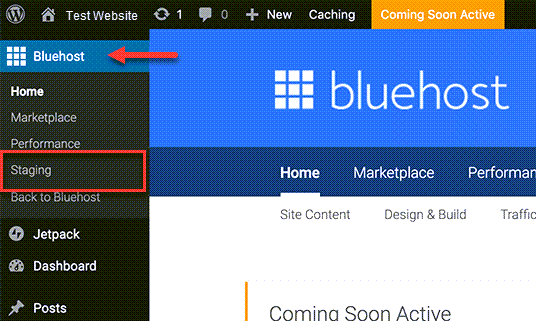
- Once inside your dashboard, navigate to Bluehost from the left-side menu.
- Click Staging
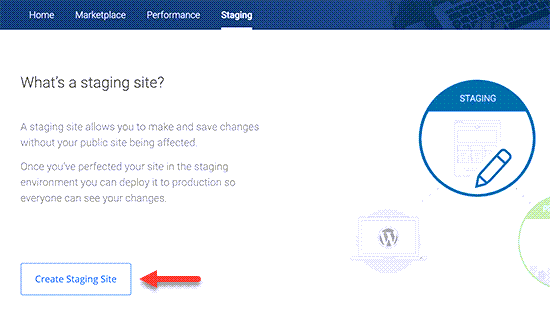
- This will bring you to the staging site wizard. Next, you need to click on the Create Staging Site button to continue.
- It will now prepare the staging environment for your website. Once finished, you will see a success message with a link to visit your staging site.
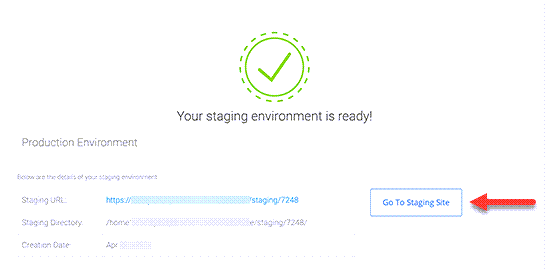
- Now, you can click on the Go to staging site button to continue.
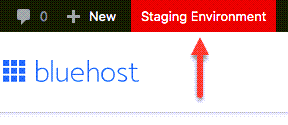
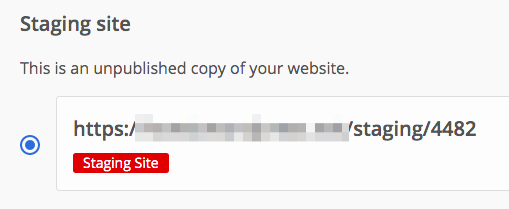
- You will reach the admin area of your staging WordPress site. You will see a red button on top of the admin bar to indicate that you are working in the staging environment.
Note: if you have created more than one staging site, you will be able to access any of it just by selecting the staging site in question
- You can go ahead and work on your website without worrying about it affecting your live site.
Deploying changes from staging to live site using the Bluehost Plugin:
- Once you are ready to push changes from staging to the live site, simply go to Bluehost > Staging page.
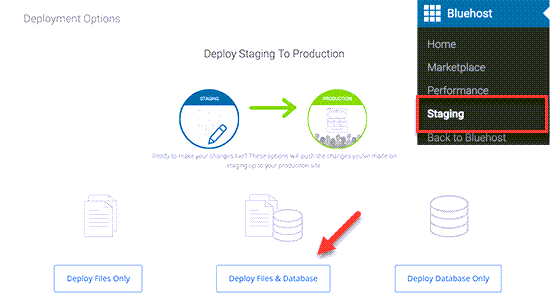
- Scroll to the Deployment Options section. You will see three options for deployment. You can deploy only the files, only the database, or both files and database.
- If you’re not sure, then click on the Deploy Files and Database button to deploy all changes from the staging environment.
- This will bring up a popup where you will be asked to confirm that you want to deploy the staging site to the production site. Click on the Yes, Let’s Deploy button to continue.

- It will now start deploying your staging site to the live site. Depending on the size of your website, this may take a while.
Note: The pop-up will automatically disappear when deployment is over. You can now visit your live website to see the changes applied to your production site.
Using a WordPress Plugin
You may also create a staging website using two of the most used WordPress plugin: WP Staging and WP Stagecoach.
There are some disadvantages to using this method. First, a plugin would have limited control over your hosting server. This is why it may not always give the best results. Secondly, these plugins will store your staging site on their own servers. If you are concerned about privacy and data protection, then this may not be the ideal situation for you.
WP Stagecoach
Creating a staging site using the WP Stagecoach plugin:
- The first thing that you need to do is install and activate the WP Stagecoach plugin.
For more details, see our step-by-step guide on how to install a WordPress plugin.
- Upon activation, the plugin will add a new menu item labeled WP Stagecoach to your admin bar. Clicking on it will take you to the plugin’s Settings page.
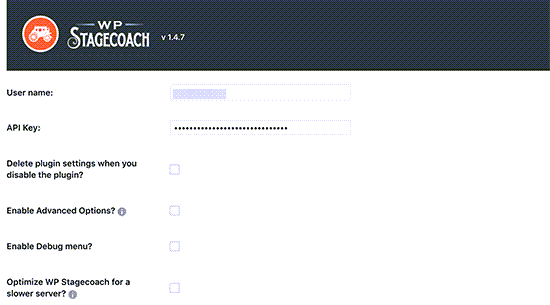
- You will need to enter your WP Stagecoach username and the API key, which you can find under your account on the plugin website.
- After that, you will be able to create your staging website.
- You need to provide a name for your staging site. This name will also be used as the subdomain of your WordPress staging website.
Note: Don’t forget to check the box next to Password protect the staging site option. It will protect your staging website from public view and search engines.

- Next, click on the Ride the Stagecoach! button to continue.
- The plugin will now create a backup of your WordPress files and database to export them for your staging site.
- Once finished, you will see the link to your staging site and its admin area.
- You can click the link to visit your staging site and start working on it.
Deploying changes from staging to live site using the WP Stagecoach plugin:
- Once you are ready to import changes to your live site, head over to WP Stagecoach, navigate to the Import Changes page, and click on the check for changes button.
- The plugin will now check for changes on your staging site and then show you options to import them.
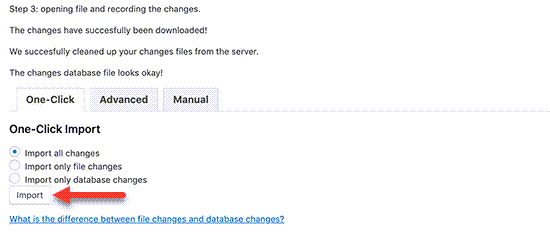
- You can select to import only file changes, only database changes, or all changes.
- Next, click on the Import button to continue.
- The plugin will show you the progress of the import and will notify you when it is done. You can now test your live site to see if all changes were successfully imported.
WP Staging
Creating a staging site using the WP Staging plugin:
- The first thing that you need to do is install and activate the WP Staging https://wp-staging.com/ plugin.
For more details, see our step-by-step guide on how to install a WordPress plugin.
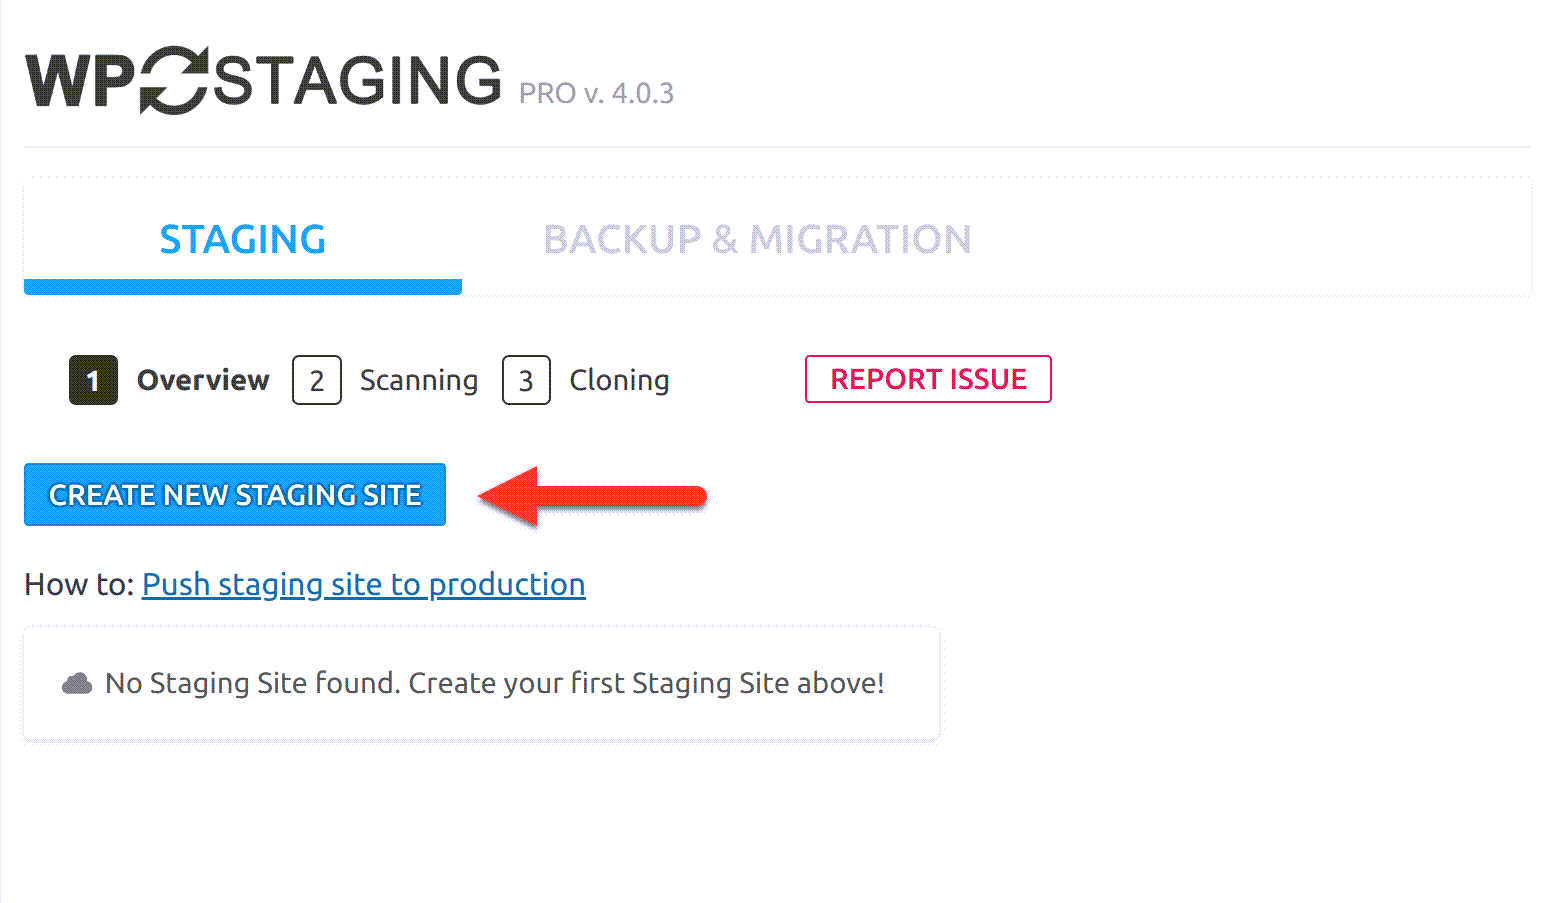
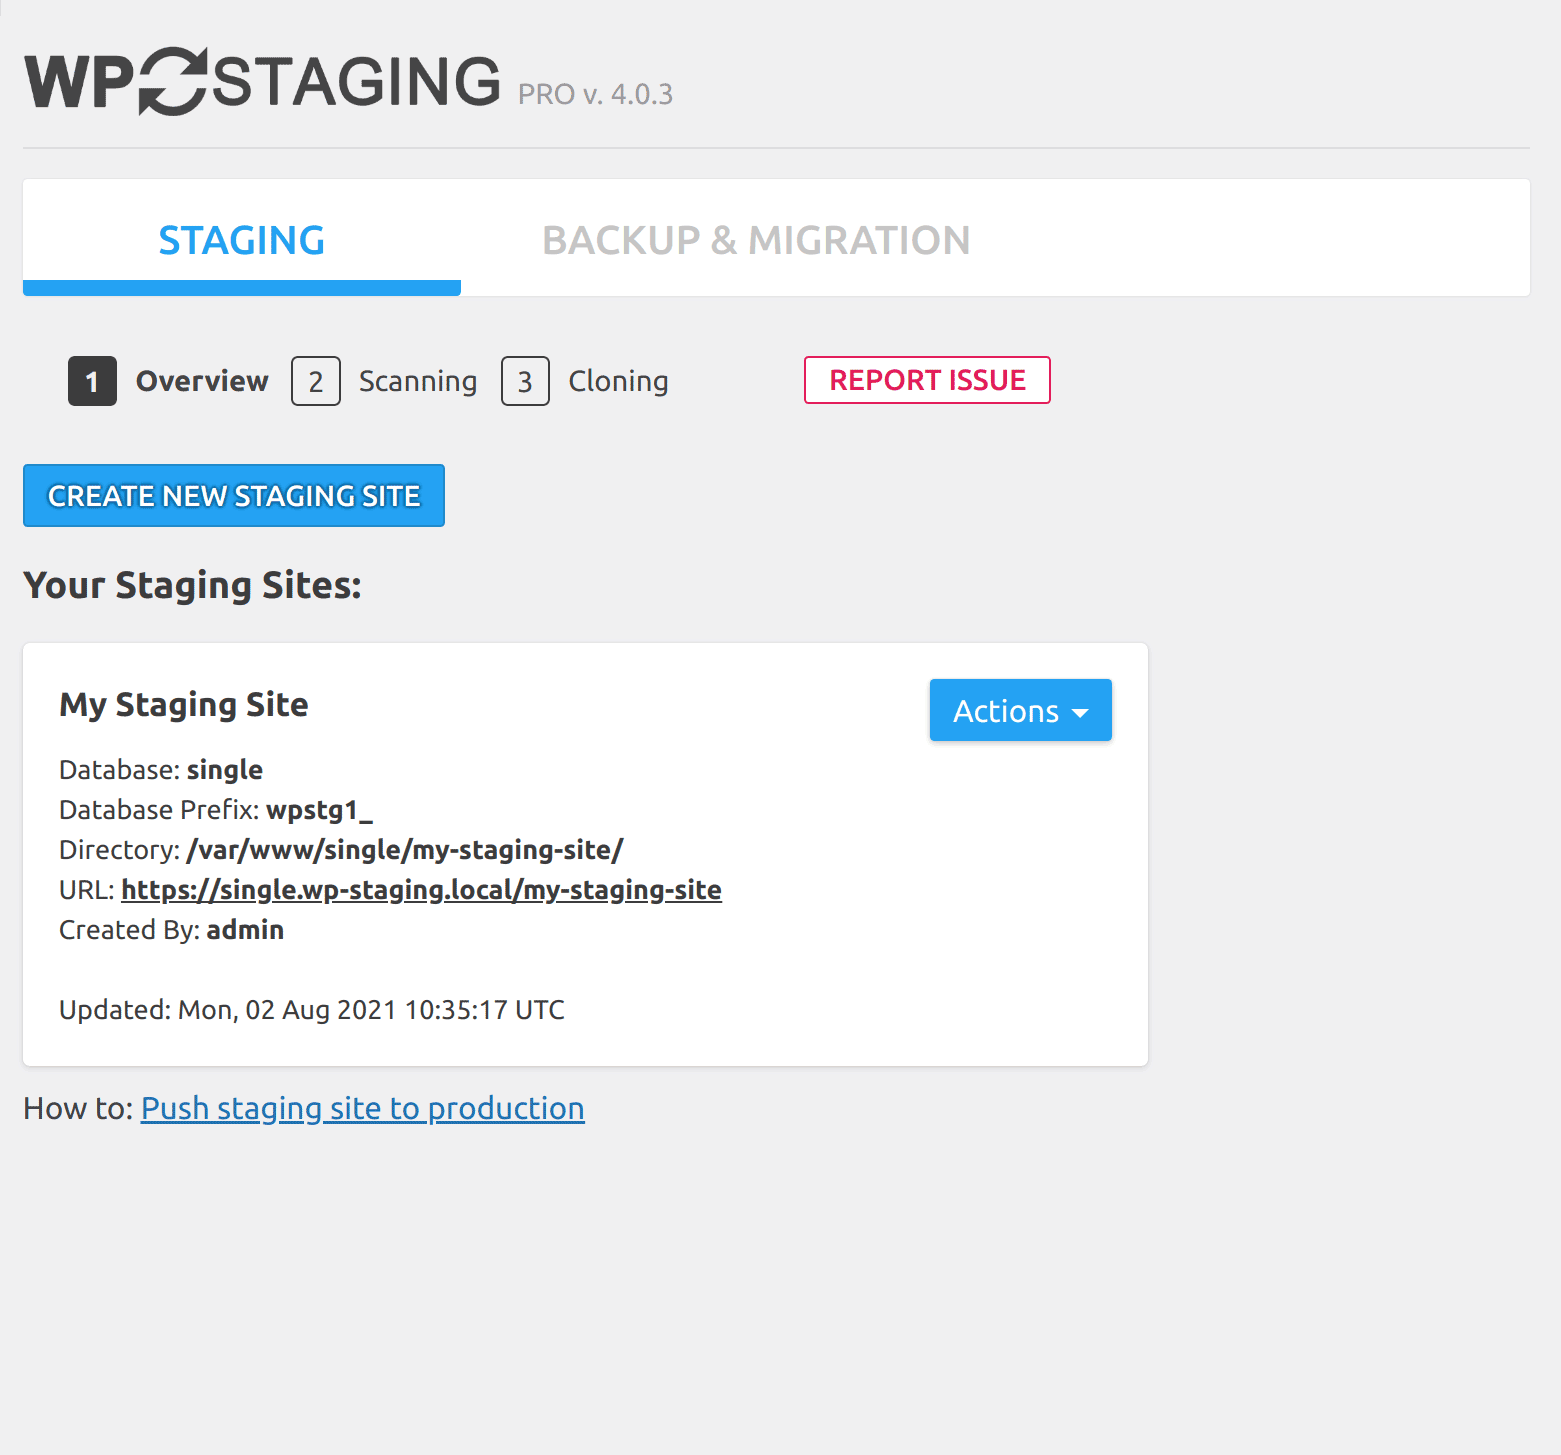
- After installation, go to the newly added menu item labeled WP Staging, and then click on the Staging tab.
- Hit on the Create new staging site button
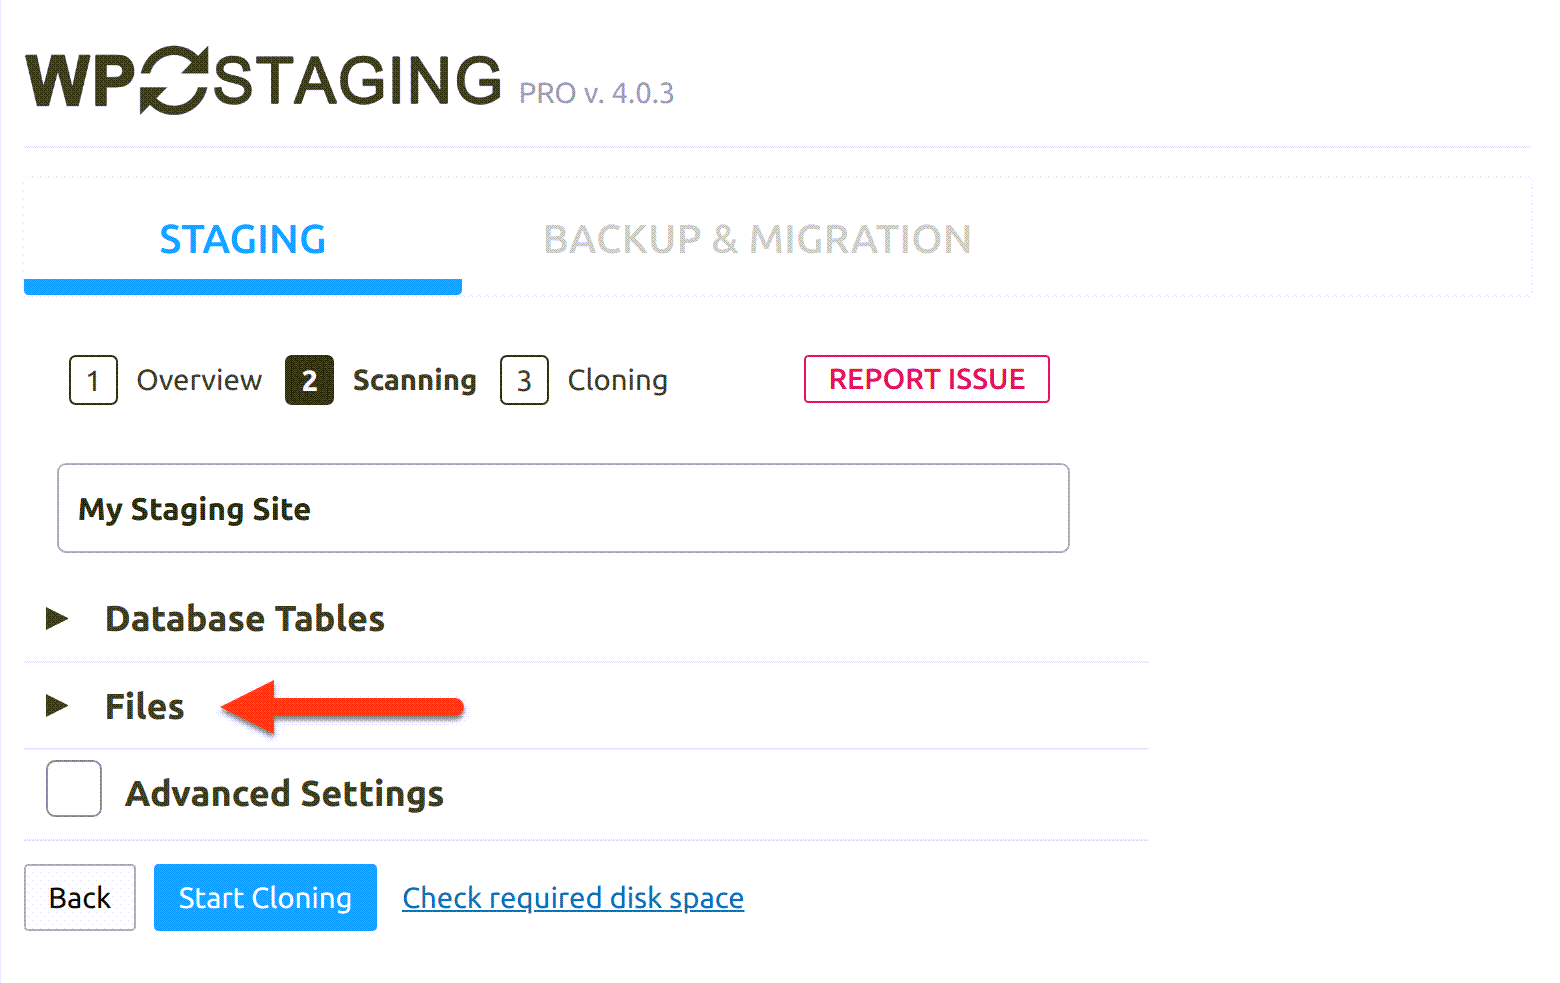
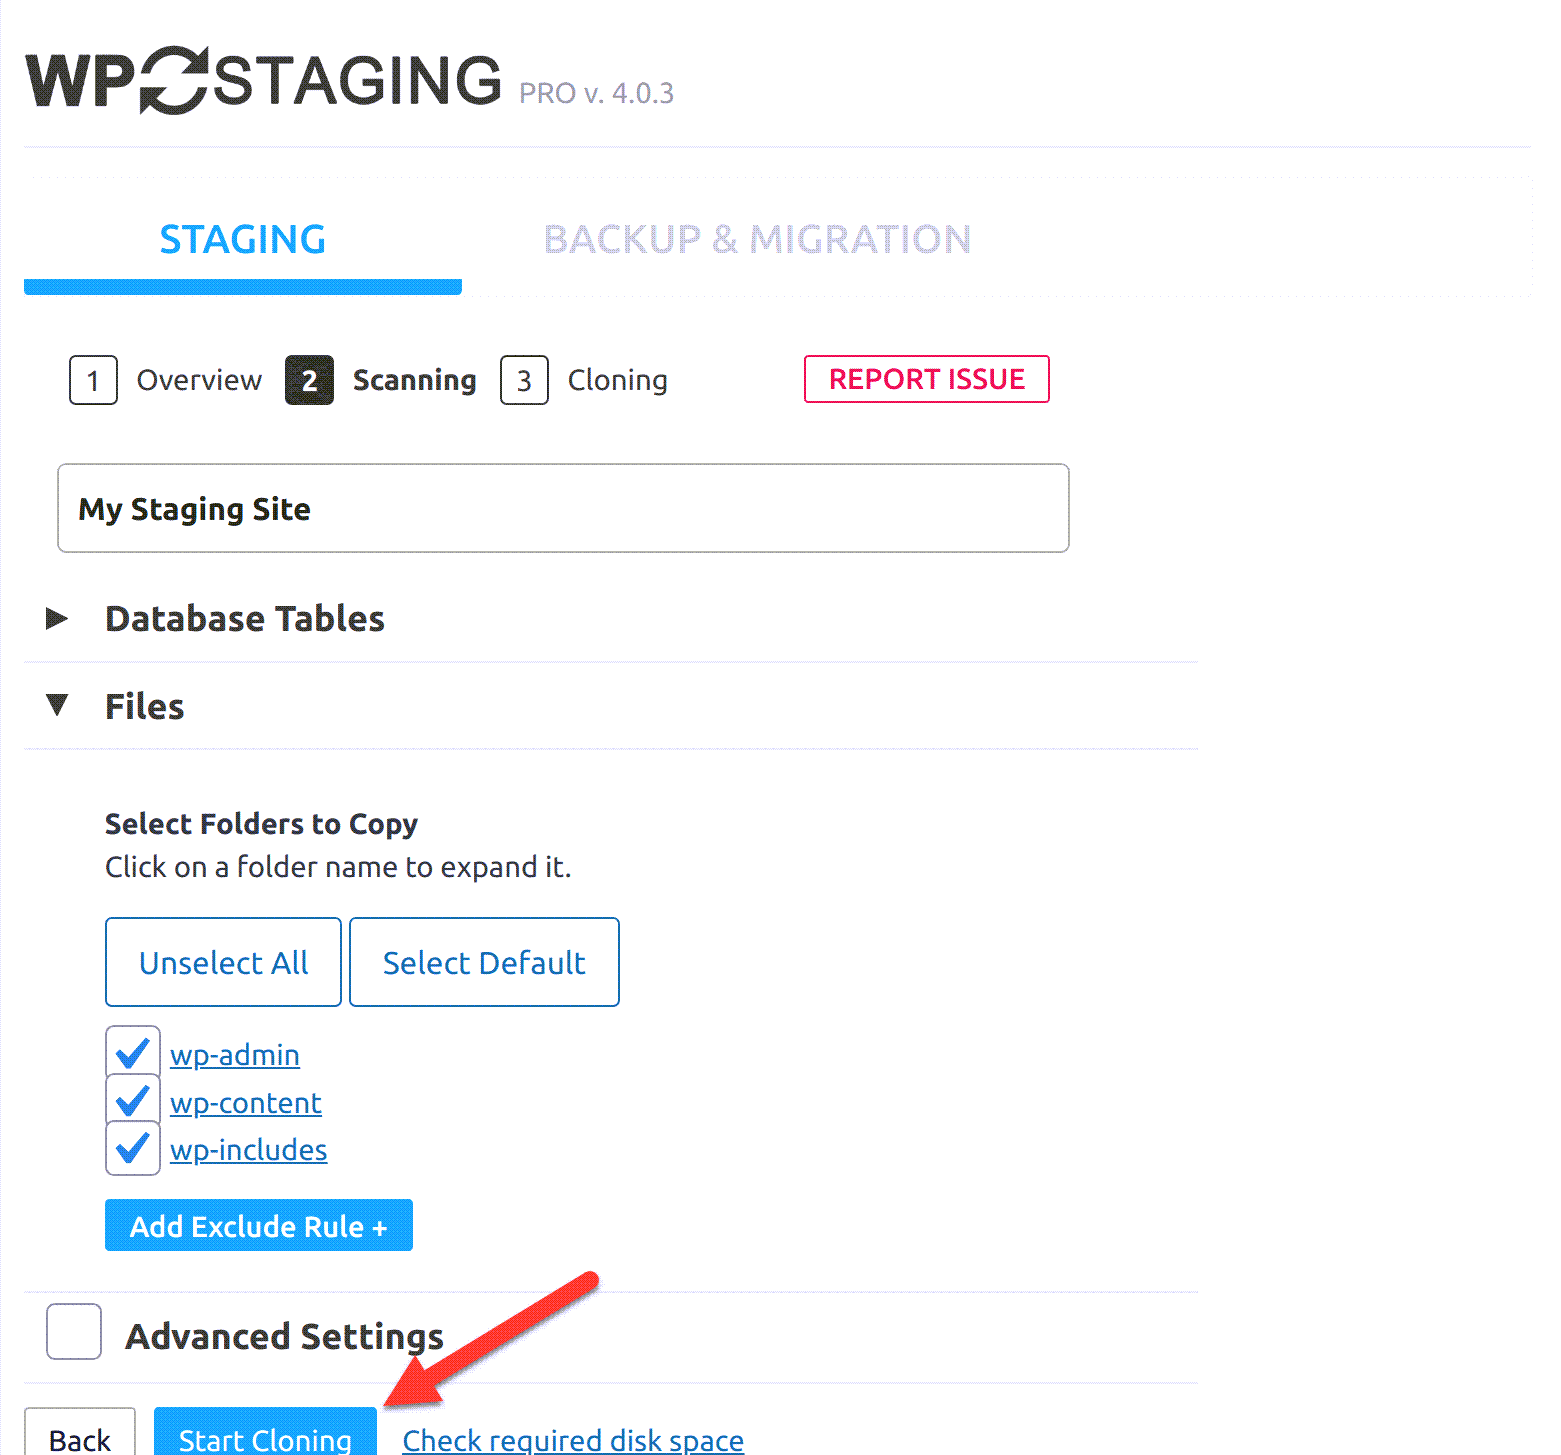
- Expand the menus as desired to see further available settings.
- Once done, click on the Start Cloning button at the bottom.
- The plugin will now create a backup of your WordPress files and database to export them for your staging site.
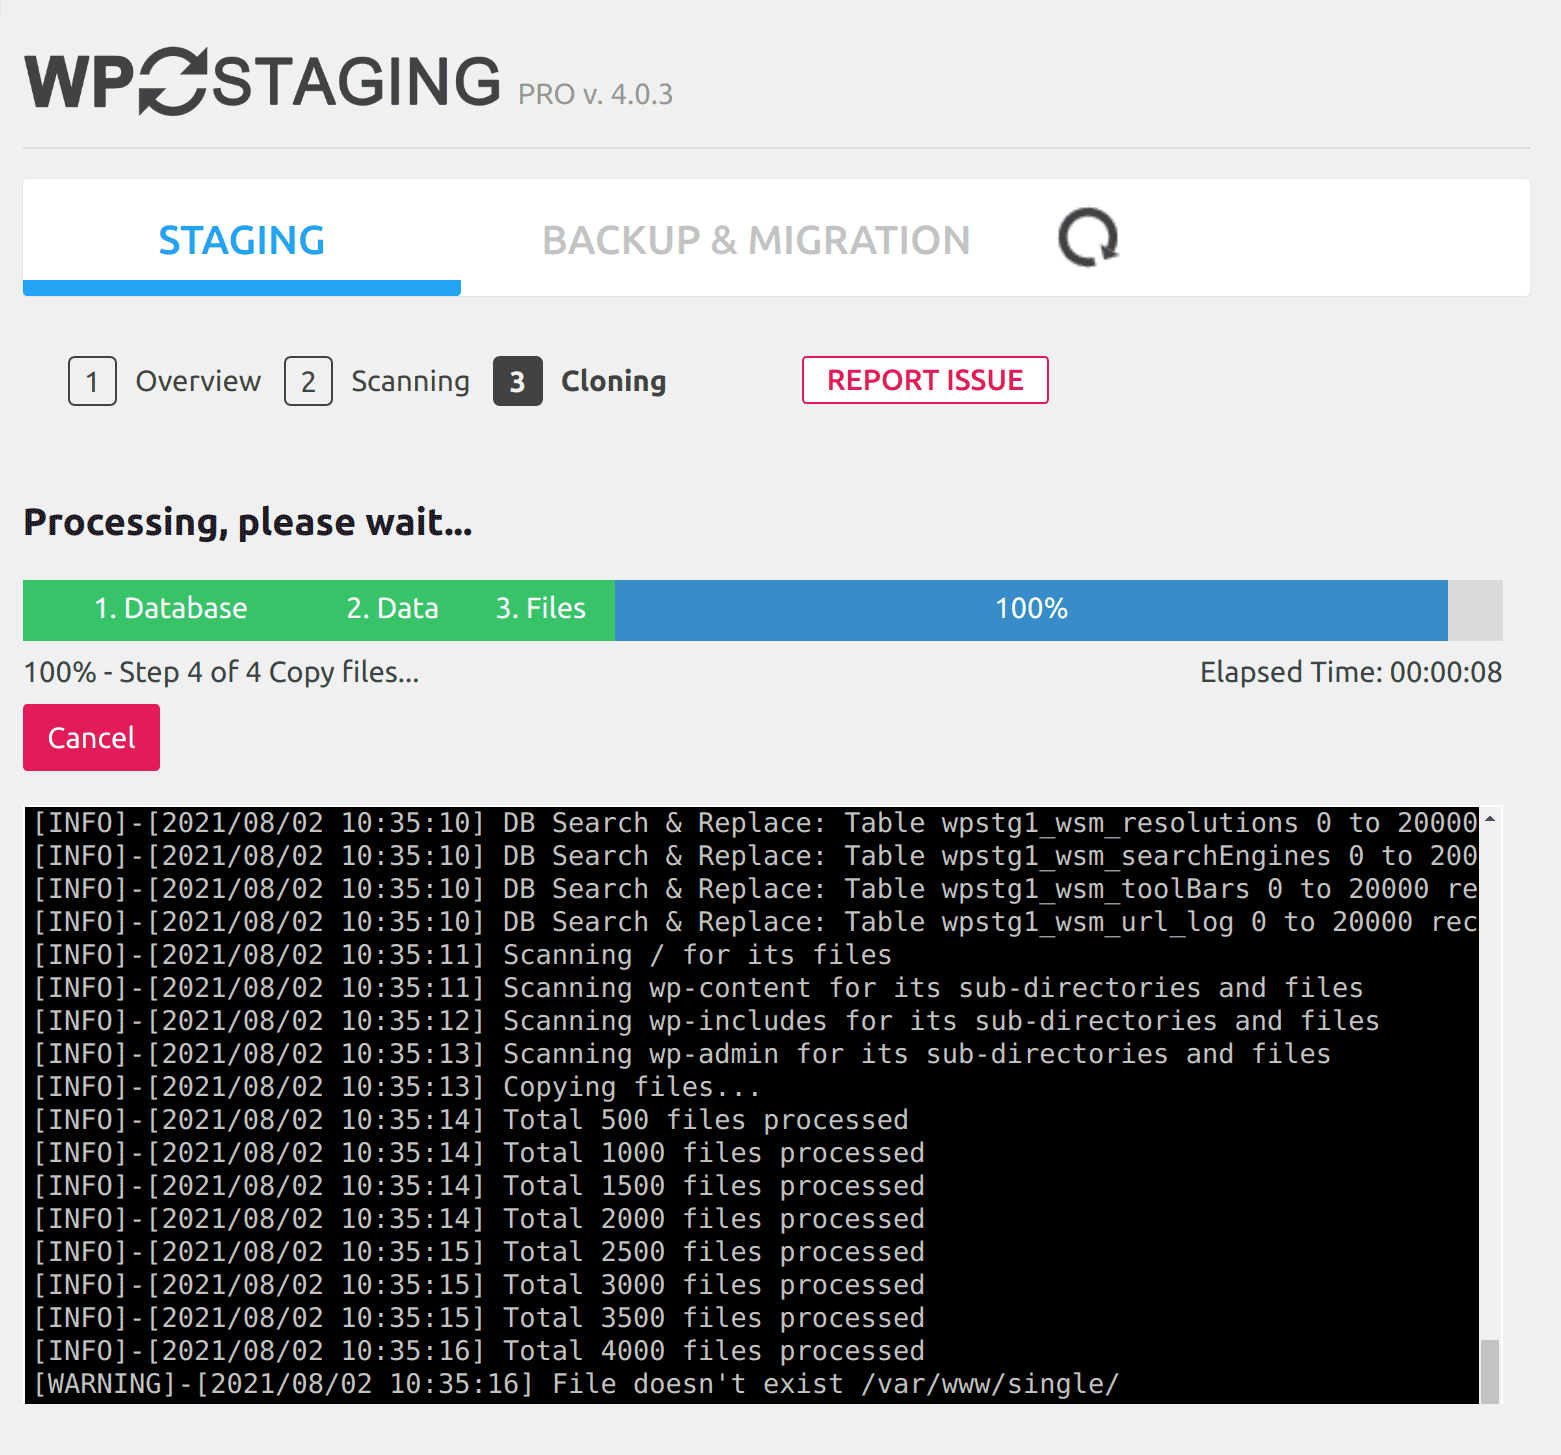
- After completing the clone, you will see the list of your staging sites, including important details such as database, directory, URL, primary user admin, etc.
Deploying changes from staging to live site using the WP Staging plugin:
- Click on the Actions dropdown menu.
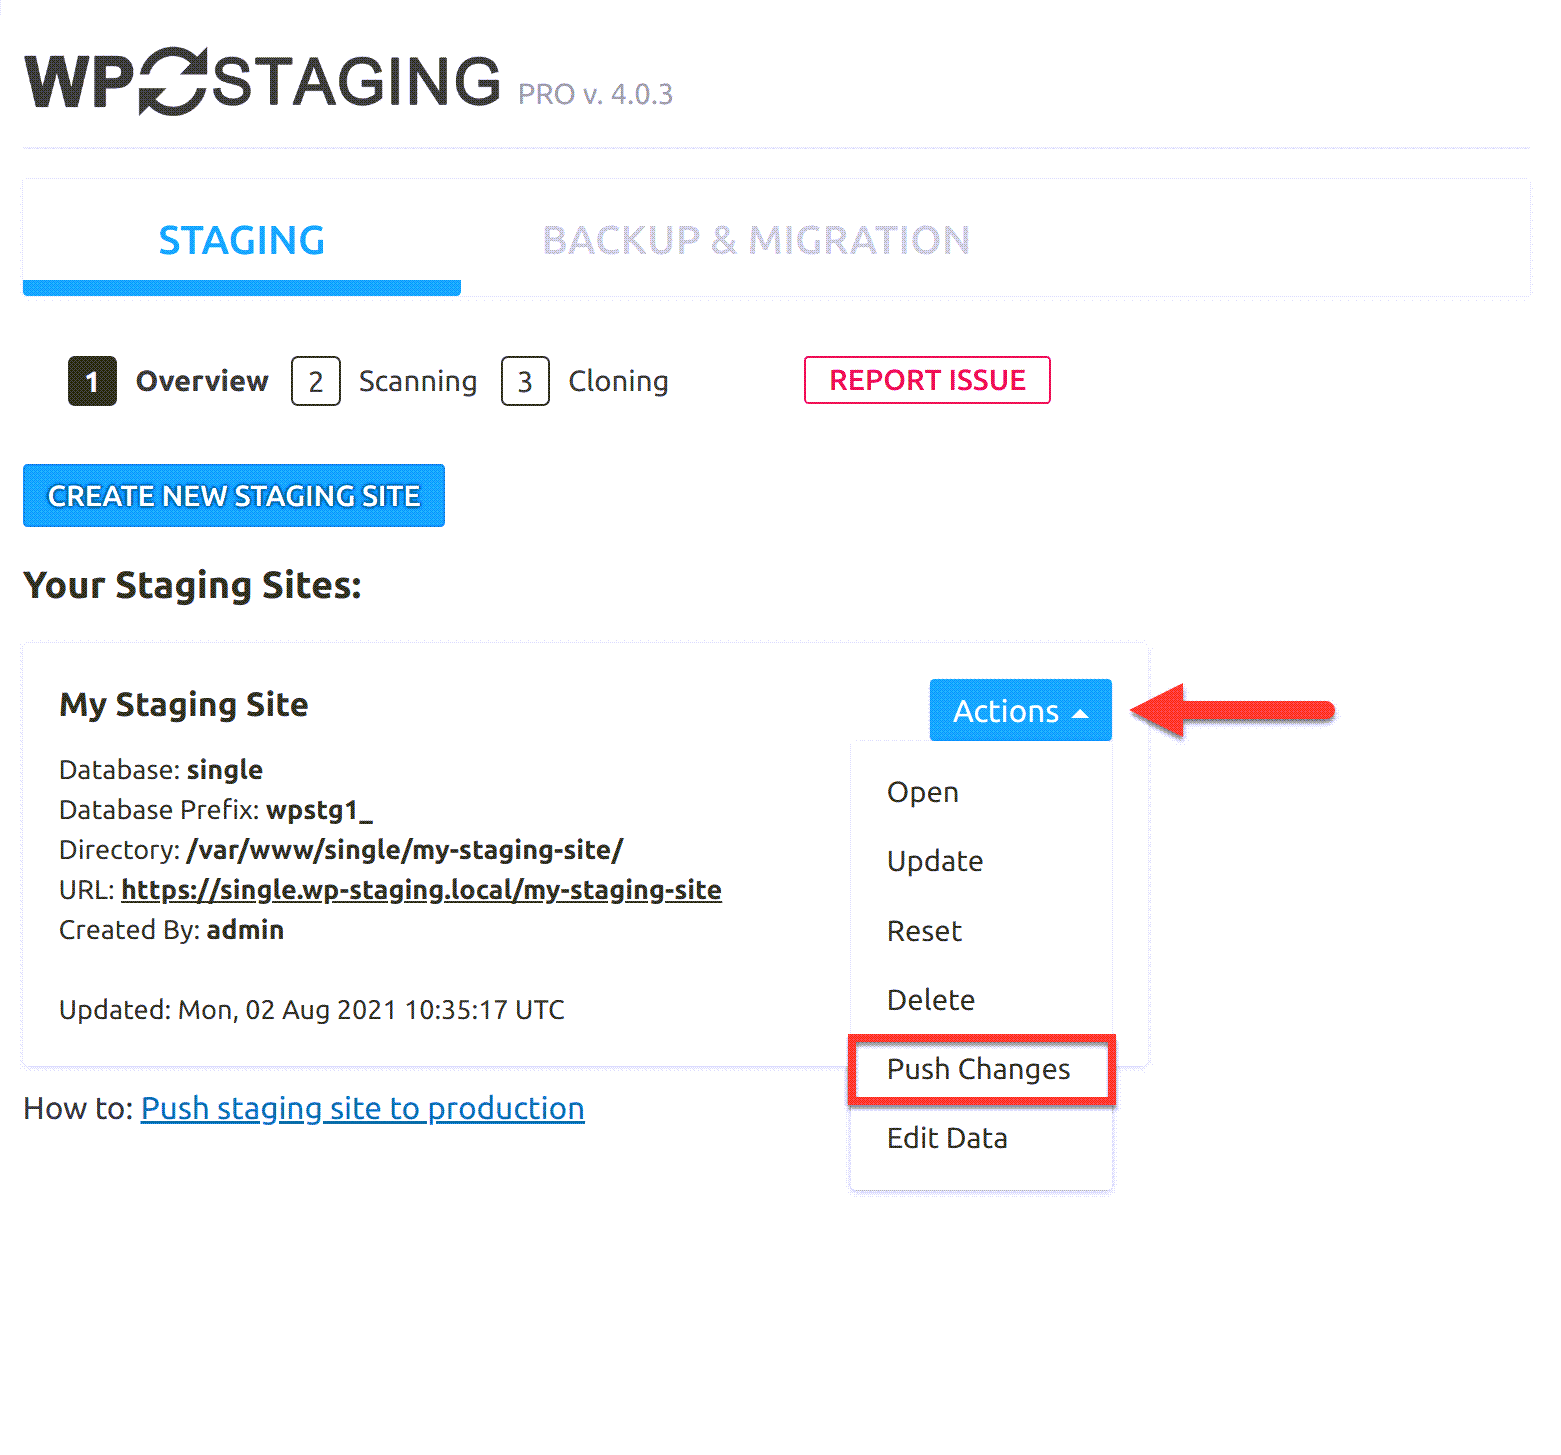
- Hit on Push Changes.
- For a complete guide, you can also watch their full video tutorial here.
Both plugins are free to download, but since they are third-party plugins that are maintained by their own set of developers, they also offer premium versions.
To learn more about the differences and their respective pricing, please see WP Staging and WP Stagecoach.
Using the Softaculous App Installer
Creating a staging site using the Softaculous App Installer:
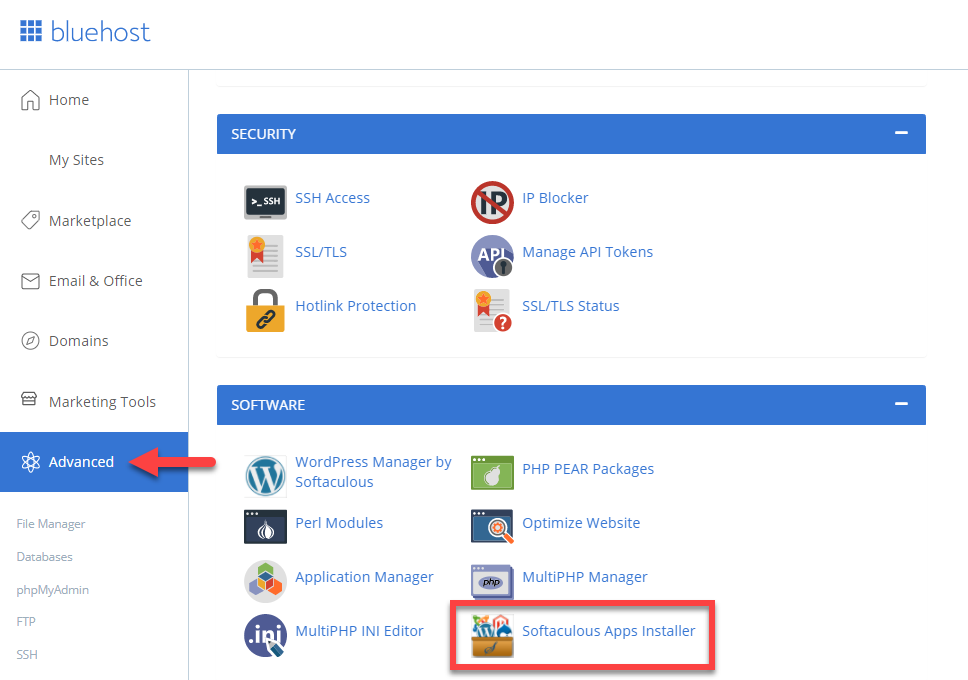
- Log in to your Bluehost account.
- Click Advanced on the left-hand side menu, and navigate to Softaculous Apps Installer.
- Once inside the app, expand the Blogs menu, and hit on WordPress.
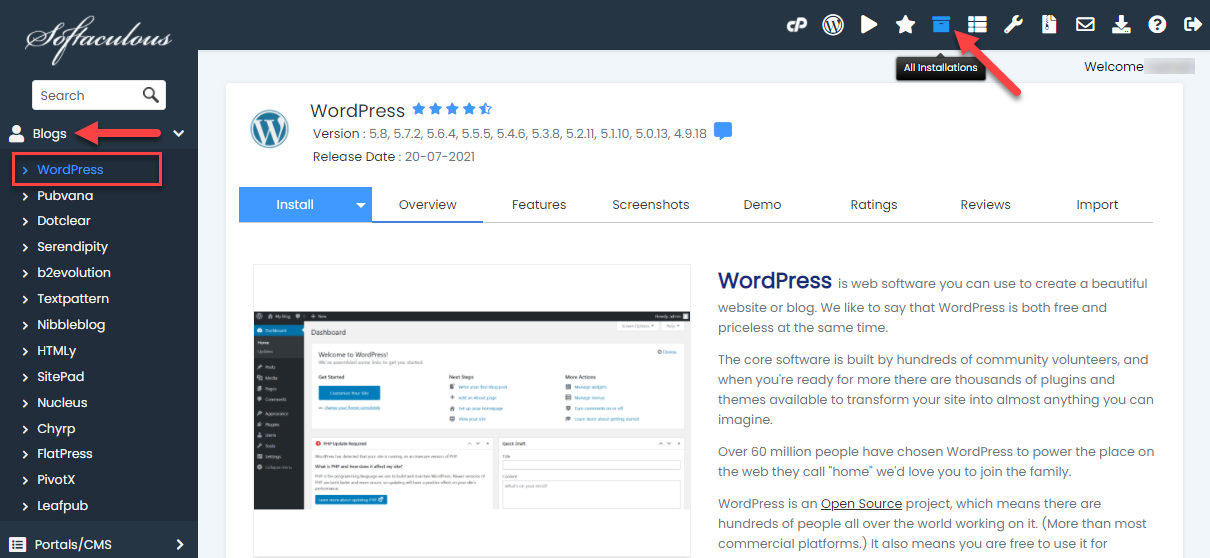
- Click the box icon on the top menu that says All Installations.
Note: If you don't have any WordPress installed yet, please see How To Install WordPress - WordPress Installation Guide.
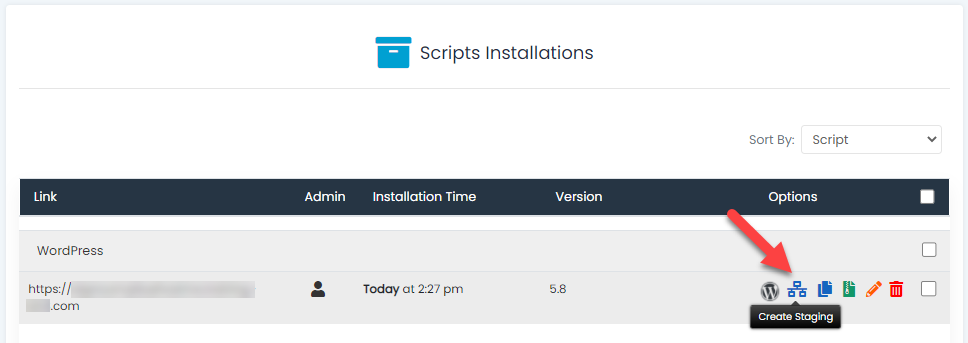
- Alongside the WordPress site where you want to create staging for, click on the tree graph labeled as Create Staging.
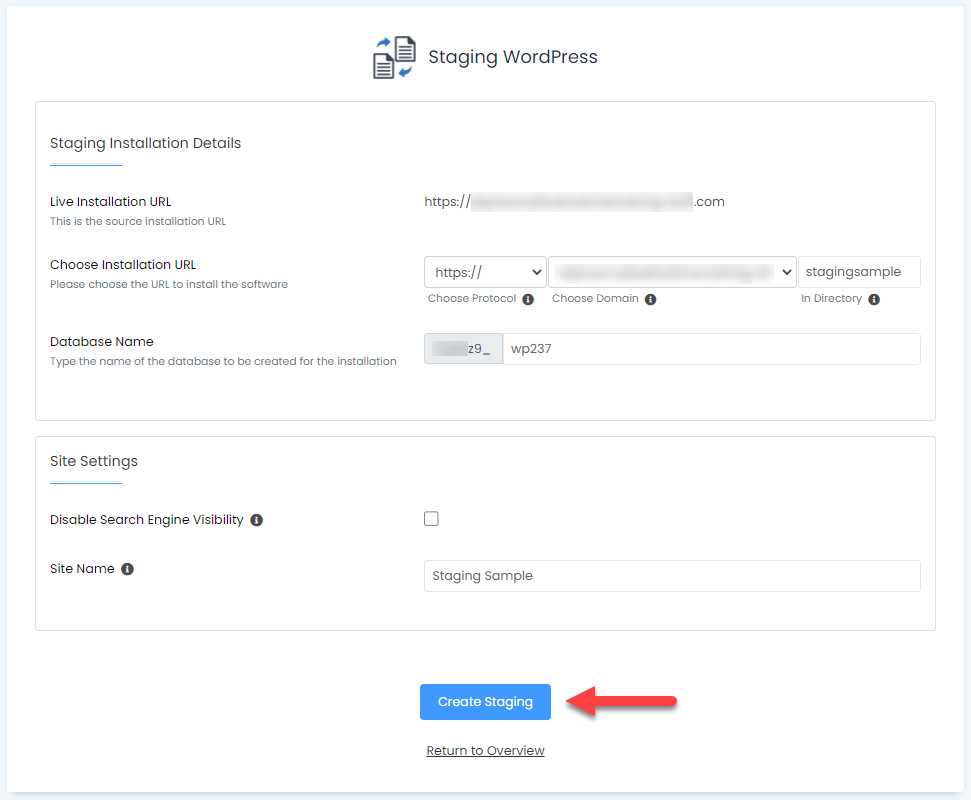
- You will be redirected to the Staging WordPress page; fill out the boxes. Once done, click on the Create Staging button.
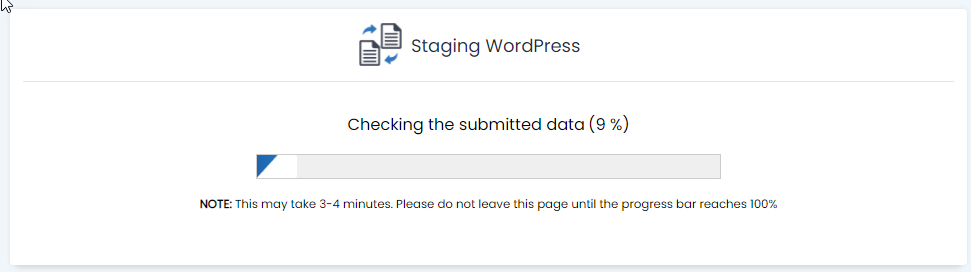
- And then, you will be able to see a loading page while it's creating your staging site.
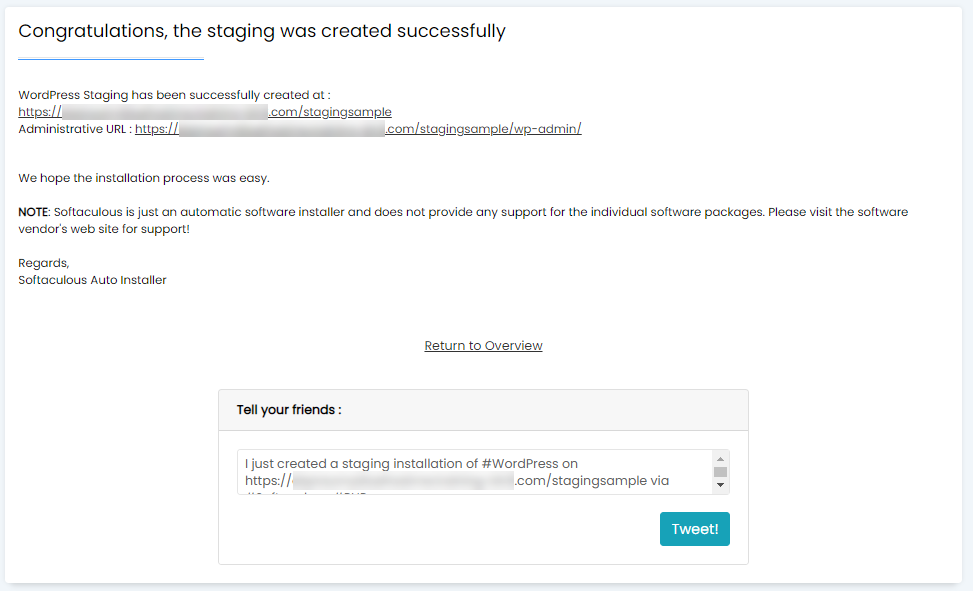
- Once completed, a confirmation message will be displayed containing all the information about your staging site.
Deploying changes from staging to live site using the Softaculous App Installer:
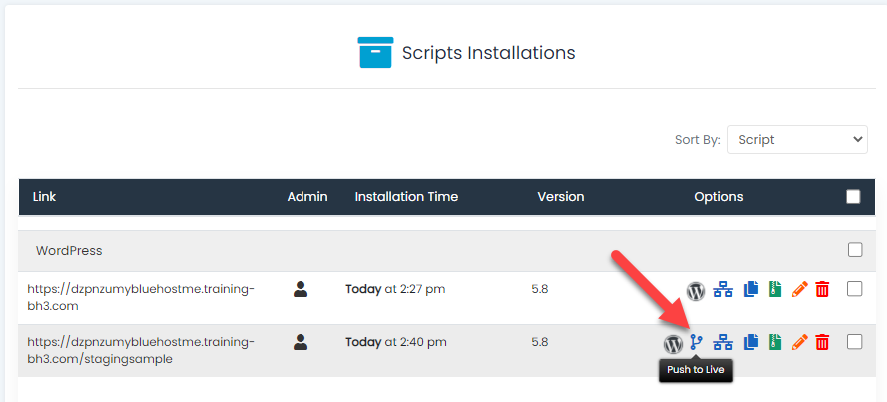
- Access again the box icon on the top menu that says All Installations.
- Navigate the list under the Script Installations page, and you will be able to see the URL of your staging site.
- Click on the connection icon labeled as Push to Live.
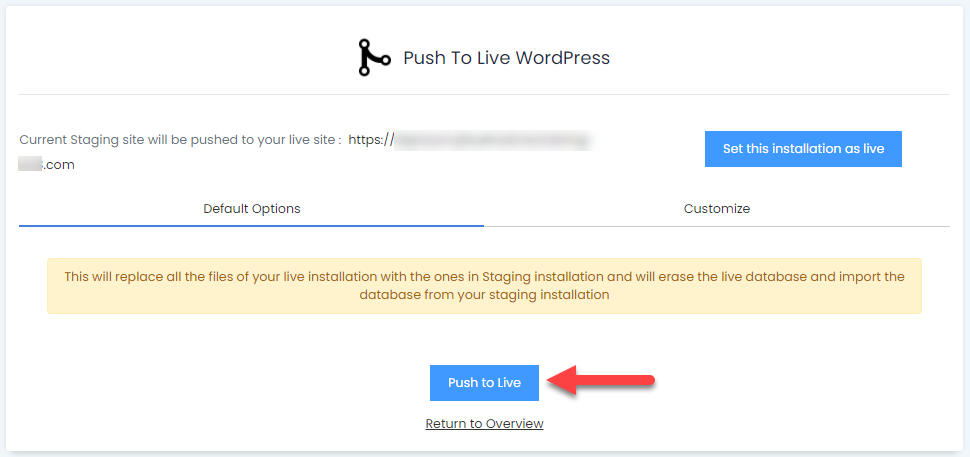
- You will be redirected to the Push To Live WordPress page, read the warning, check your options, and click on the Push to Live button.
Manually via cPanel
These methods require you to manually create a staging site for your WordPress install. It is for advanced users and requires more work than other methods described above. Another disadvantage of this method is that your website will be temporarily unavailable when deploying changes back from staging to the live server, also known as publication downtime.
Both methods require the creation of a subdomain:
- Log in to your Bluehost control panel.
- Navigate to Domains on the left-hand side menu, Click on Subdomains
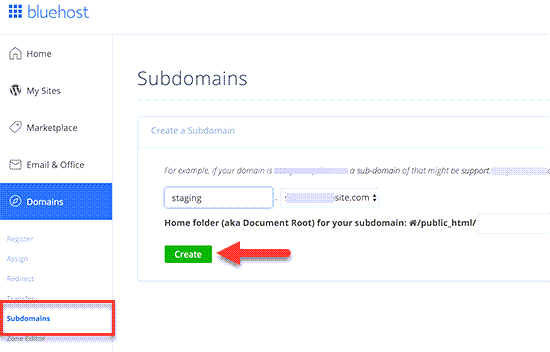
- Provide a name for your subdomain (for example, staging) and then click on the create button.
- It will add your subdomain, which you can use to import your live WordPress site.
Important Note: To know more about this process, please see: What Is A Subdomain And How Does It Work? How To Create A Subdomain
Using the File Manager
Creating a staging site manually using the File Manager:
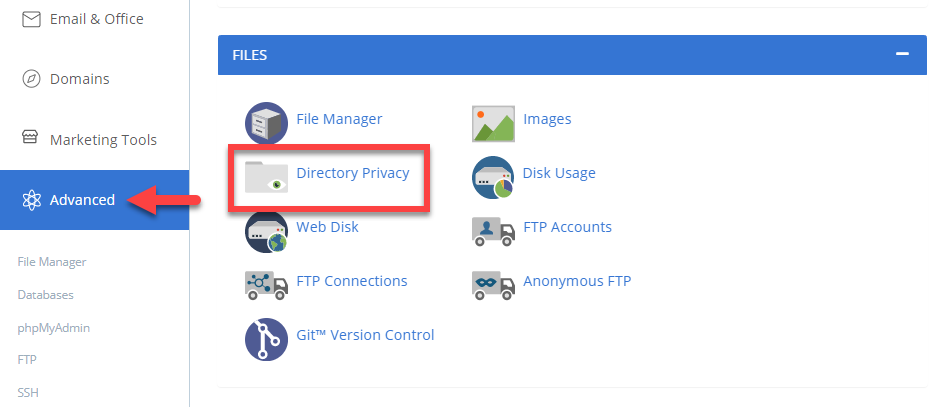
- Inside your Bluehost control panel, access your cPanel by clicking Advanced on the left-hand side menu and navigating to File Manager.
- Under the public_html folder, download the entire root folder of the website you'd like to create a staging site for.
Tip!: You may also check this guide for step-by-step instructions on How to export a WordPress site.
- Next, go back to your cPanel and navigate to phpMyAdmin. Access the database in question and click on Export.
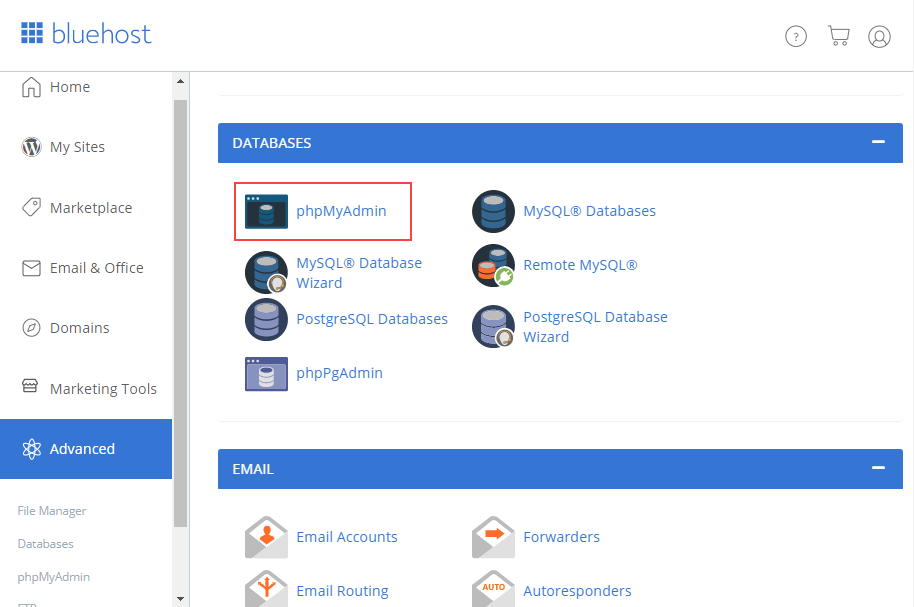 .
.
Tip!: You may also check this guide for step-by-step instructions on How to Import or Export a MySQL Database using phpMyAdmin
- Once you have successfully downloaded a copy of both the raw website files and database, you need to upload them now in their respective staging locations.
- Ensure that Google is not crawling your new staging site by using a plugin called Hide My Site. Once you have activated the plugin, head over to Settings > Reading > Discourage search engines from indexing this site.
Deploying changes from staging to live site manually using the File Manager:
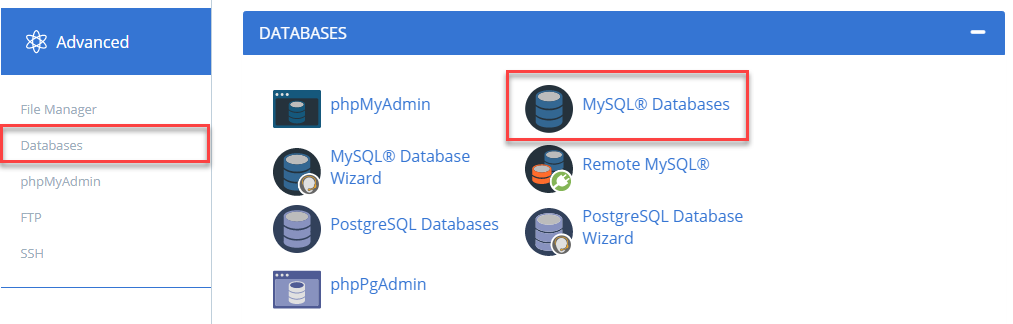
- Log in to your Bluehost control panel, access your cPanel by clicking Advanced on the left-hand side menu, navigating to MySQL Databases, and creating a new database.
For a more thorough guide on the process of creating a new database, please see this article.
- Go back to phpMyAdmin and upload the database files you acquired earlier into the newly created one.
For a complete guide on this, please see How to Copy or Rename a Database.
- Navigate back to File Manager and upload the raw website files you downloaded earlier into the newly created subdomain for your staging site.
- Once done, open the wp-config.php file and edit it; you will need to type in the new database information: database name, database user, and password.
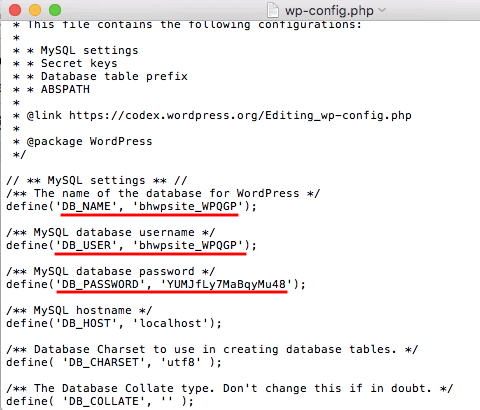
- Once you have updated those, click Save Changes.
Using the Duplicator
Creating a staging site manually using the Duplicator:
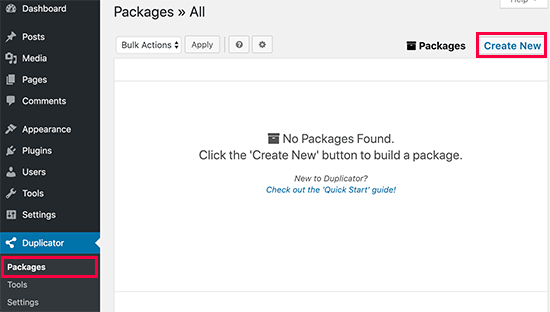
- You need to install and activate the Duplicator plugin on your live site. Upon activation, you need to click on the Duplicator menu in your WordPress admin sidebar and click on the create new button.
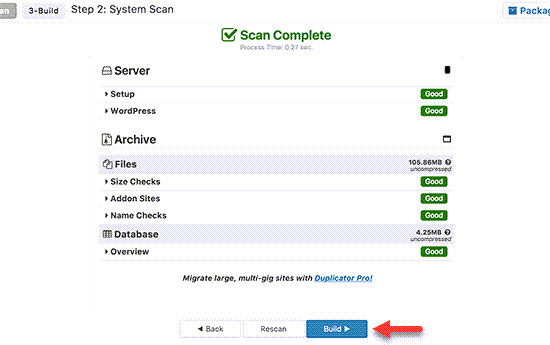
- After that, you will be asked to click on the Next button to continue. Duplicator will now run the website duplicator wizard. First, it will run some tests to see if everything is in order. If all items are marked ‘Good,’ then click on the Build button.
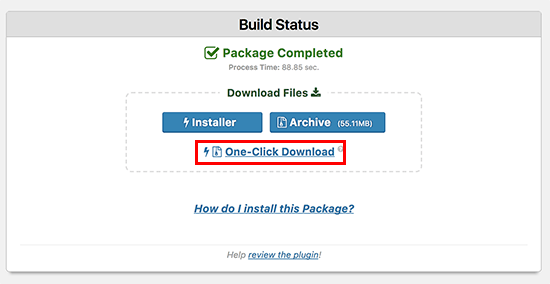
- The plugin will now start creating a duplicator package of your WordPress site. This process may take a few minutes, depending on the size of your website. Once finished, you’ll see download options for Installer and the Archive package. You need to click on the One-click download link to download both files on your computer.
- You’ll need to upload both of these files to the file directory of the subdomain you just created.
For details, see our guide on how to use FTP to upload files to your WordPress website.
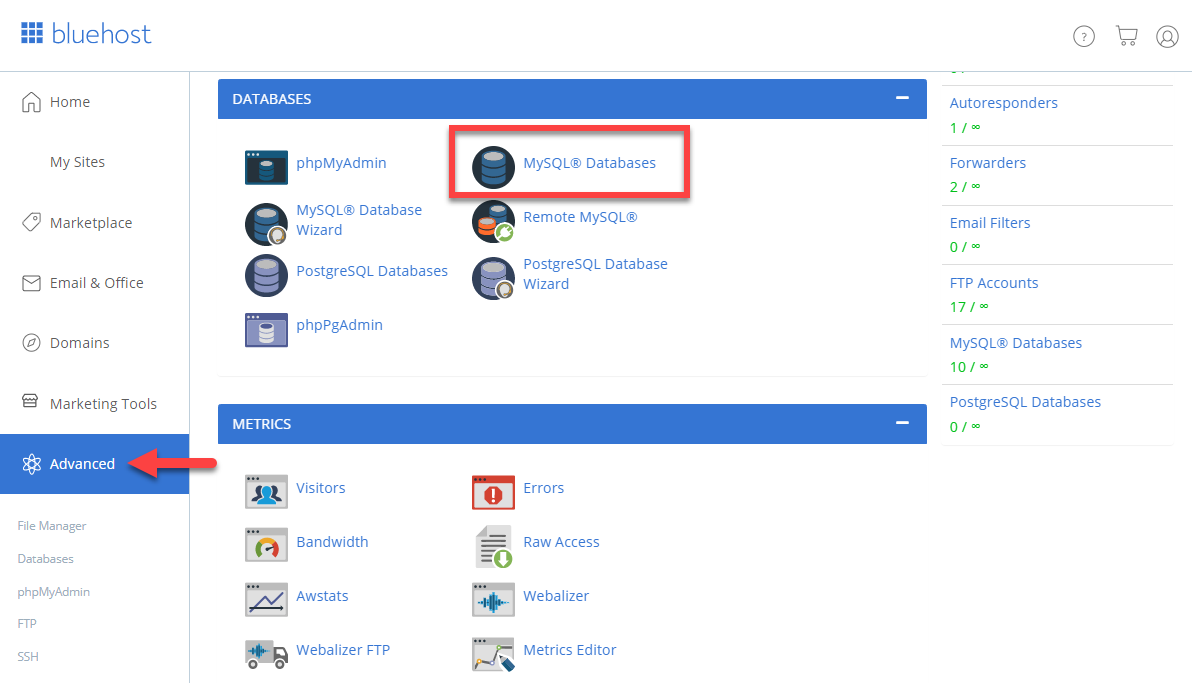
- Next, your new staging WordPress site will need a new database. To create one, log in to your Bluehost account; you will be able to access your cPanel by clicking Advanced from the left-hand side menu. Click on MySQL Databases icon located under the Databases section.
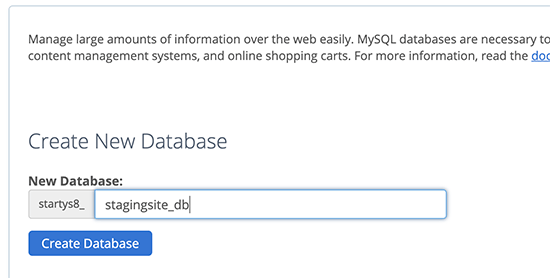
- On the next page, provide a name for your database and then click on the create database button.
- You need to create a MySQL user for your database. Scroll down to the MySQL Users section and provide a username and password for your new database user.

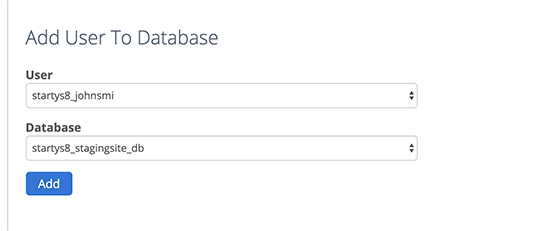
- Now you need to give this user permissions to access and modify the database you created earlier. Simply scroll down to the Add user to database section and select your database and the user you just created.
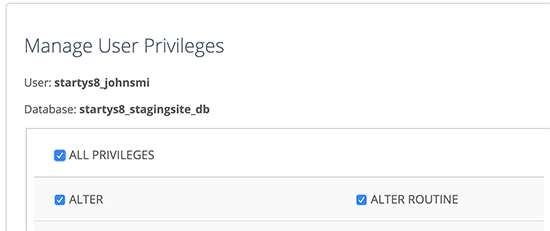
- After that, click on the Add button to continue. You will be asked to select privileges for the user. Go ahead and select the All Privileges checkbox and then click on the Make changes button.
Now your database is ready to be used for your staging website. - Next, you need to open a new browser tab and enter the subdomain of your staging site like this:
Don’t forget to replace yoursubdomain with the actual subdomain and example.com with your own domain name. This will launch the Duplicator installer wizard.https://yoursubdomain.example.com/installer.php
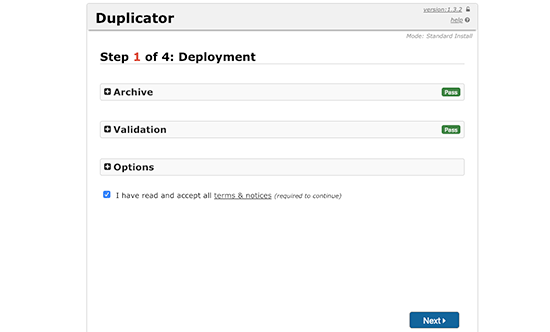
- The installer will look for the archive file. You need to check the terms and conditions checkbox and click on the next button to continue. Now, the installer will ask you to enter your WordPress database information. After that, you will enter the details of the database you created for your new domain name in the earlier step.

- Once done, click on the next button to continue. Duplicator will now unpack your WordPress database backup from the archive into your new database.
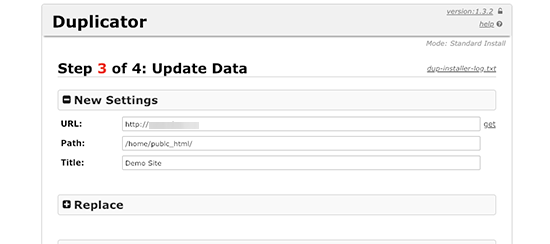
- Next, it will ask you to update the site URL or Path. You shouldn’t have to change anything since it automatically detects the URL of your new subdomain and its path. If it doesn’t, then you can change the URL to your new subdomain. After that, click on the next button to continue.
Duplicator will now finish the migration. - You can click on the Admin Login button to enter the WordPress admin area of your website on the new staging site. Now you have your staging site set up. Let’s protect it by adding password protection to your subdomain. Head back to your cPanel and click on the directory privacy icon.
- Next, you need to select your subdomain folder and then select the option to password protect this directory checkbox. You will be asked to provide a name for this setting and then enter a username and password.
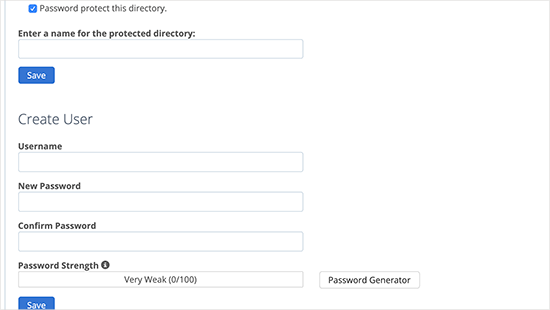
- Click on the Save button to store your settings. Your staging site will now be hidden behind the password protection. You can now work on your staging site and make any changes you want.
Deploying changes from staging to live site manually using the Duplicator:
- After you are ready to deploy changes from your staging site to the live server, you will follow the same steps described above.
- Simply create a new Duplicator package on your staging site and download the Installer and Archive files to your computer.
- Next, you need to head over to your live site and create a complete WordPress backup using Duplicator.
- Once you are done, you will need to delete all WordPress files and folders from your live website. This means your WordPress site will be down for a while.
- Finally, follow the instructions above to run the Duplicator installer wizard to import the staging site to the live server.
If you need further assistance, feel free to contact us via Chat or Phone:
- Chat Support - While on our website, you should see a CHAT bubble in the bottom right-hand corner of the page. Click anywhere on the bubble to begin a chat session.
- Phone Support -
- US: 888-401-4678
- International: +1 801-765-9400
You may also refer to our Knowledge Base articles to help answer common questions and guide you through various setup, configuration, and troubleshooting steps.