
Email Account Management: How to Create, Remove, View, and Access
Summary
This article will show you how to Add, Delete, and Manage your Bluehost email accounts.
- Accessing the email accounts tool
- Creating a new email account
- Viewing your current email accounts
- Deleting email accounts
- Changing the quota of an email account
- Changing the password of an email account
Accessing the email accounts tool
Accessing your email account will vary depending on which type of account you have.
Note: Bluehost offers two account management interface options; our original 'Rock' control panel and 'Account Manager,' an updated control panel designed for simplicity. While management options are generally the same across interfaces, the location of certain settings may vary between the two. Please see Account Manager vs. Bluerock to determine which step to follow.
Account Manager
- Log in to your Bluehost control panel.
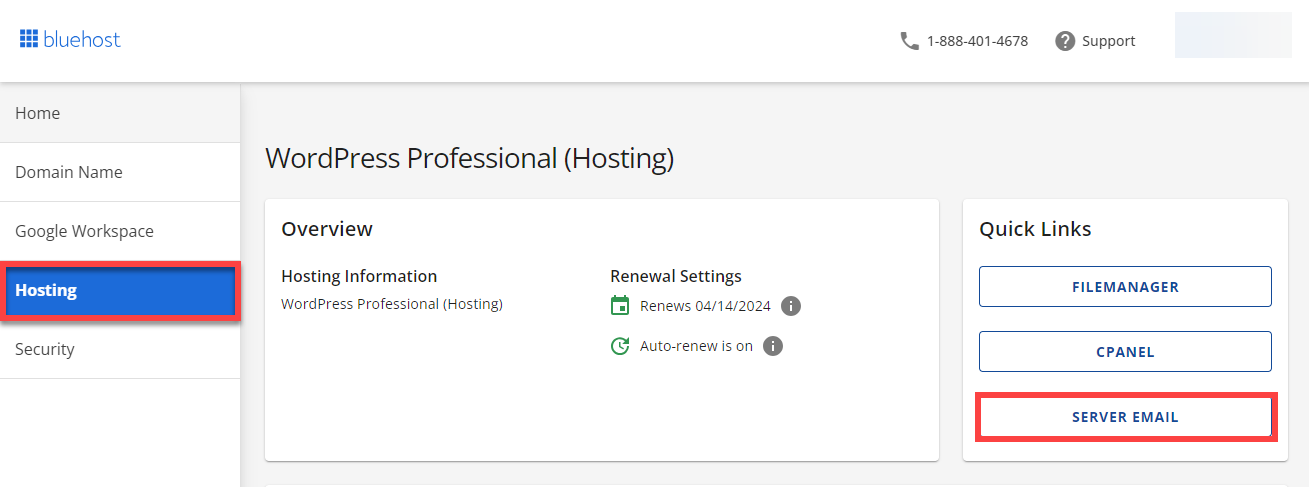
- Click on the Hosting tab in the side navigation menu on the left, and then click on Server Email.
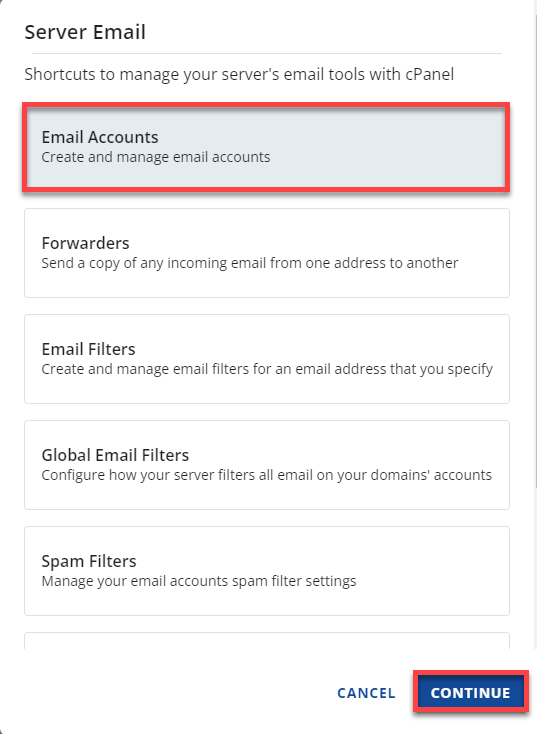
- In the Server Email pop-up, select Email Accounts and then click Continue to proceed.
Bluerock
- Log in to your Bluehost control panel.
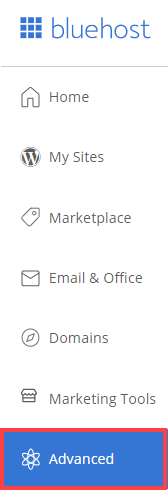
- Click the Advanced tab from the side navigation menu to the left.
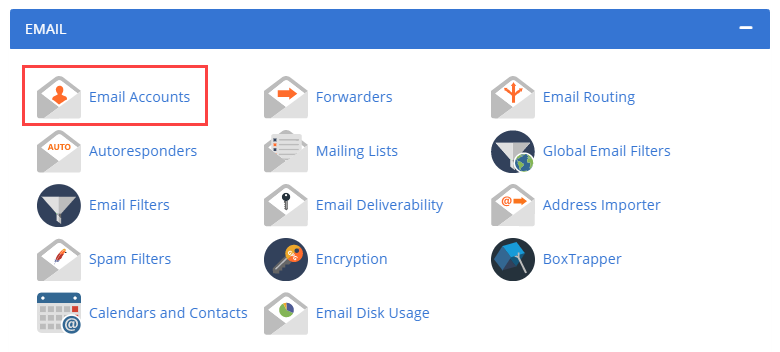
- Click the Email Accounts icon located in the Email section.
Email & Office
The instructions below are only applicable to the Bluerock interface.
- Log in to your Bluehost control panel.
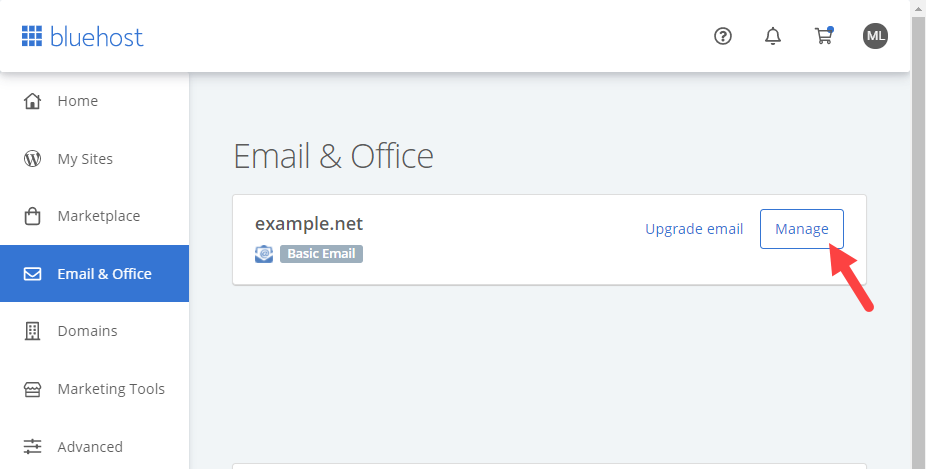
- From the side menu on the screen's left-hand side, click on the Email & Office tab.
- Purchase an email plan, or click the Manage button next to the plan you wish to make changes to.
Creating a new email account
To create a Google Workspace, click here or:
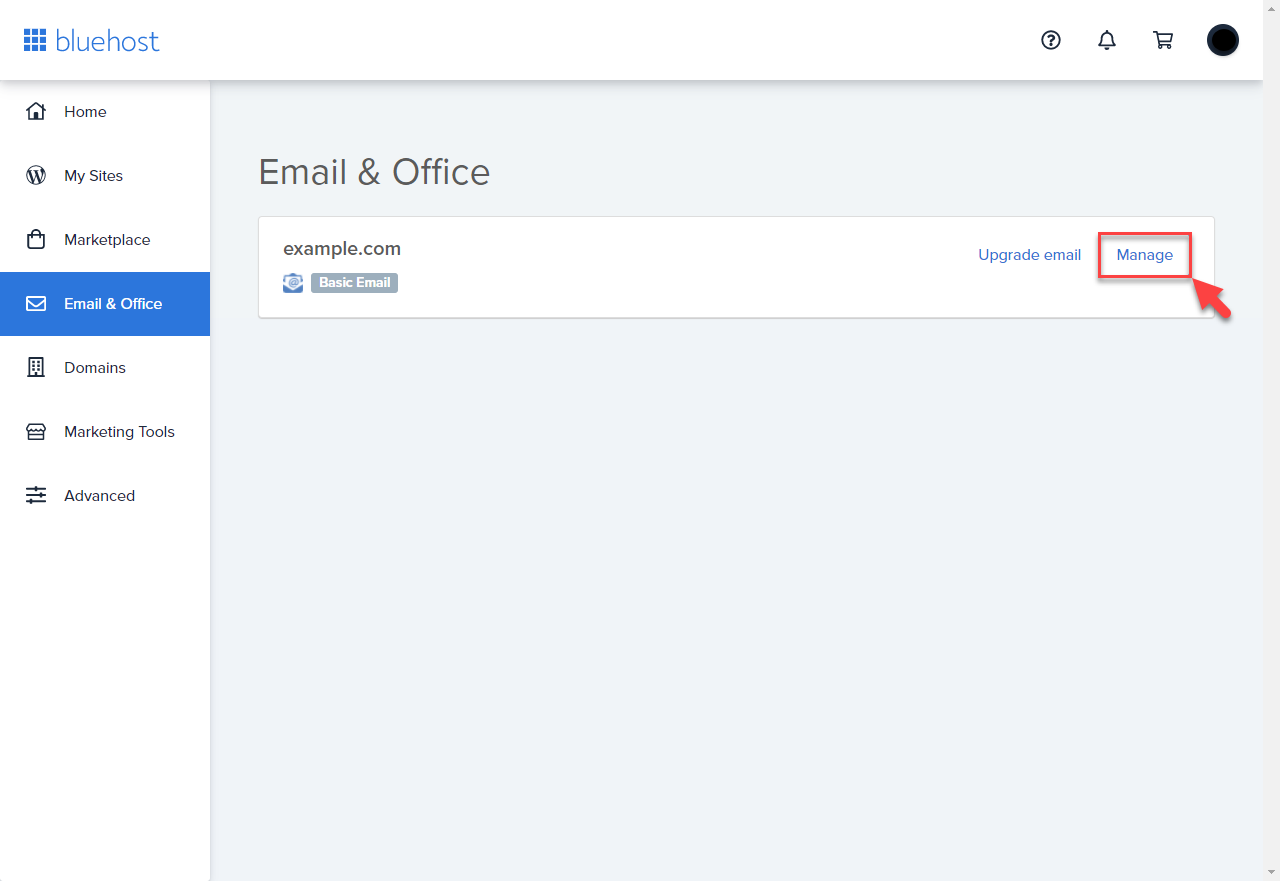
- Open the Email & Office tab from the side navigation menu to the left.
- Click Manage next to the domain you wish to add an address for.
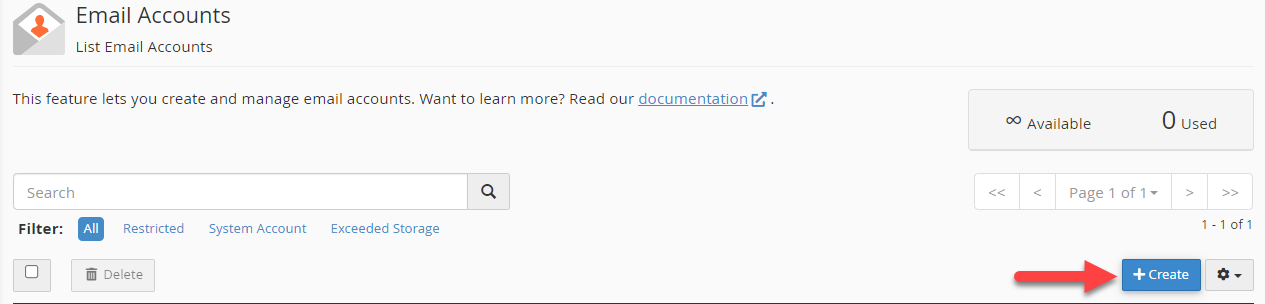
- Click the Create button.
Account Manager
- Click on the Hosting tab in the side navigation menu on the left, and then click on Server Email.
- In the Server Email pop-up, select Email Accounts and then click Continue to proceed.
- Under Email Accounts, click the Create button.
Bluerock
- Click the Advanced tab from the side navigation menu to the left.
- Click the Email Accounts icon located in the Email section.
- Click the Create button.
Once you have the create email screen open: 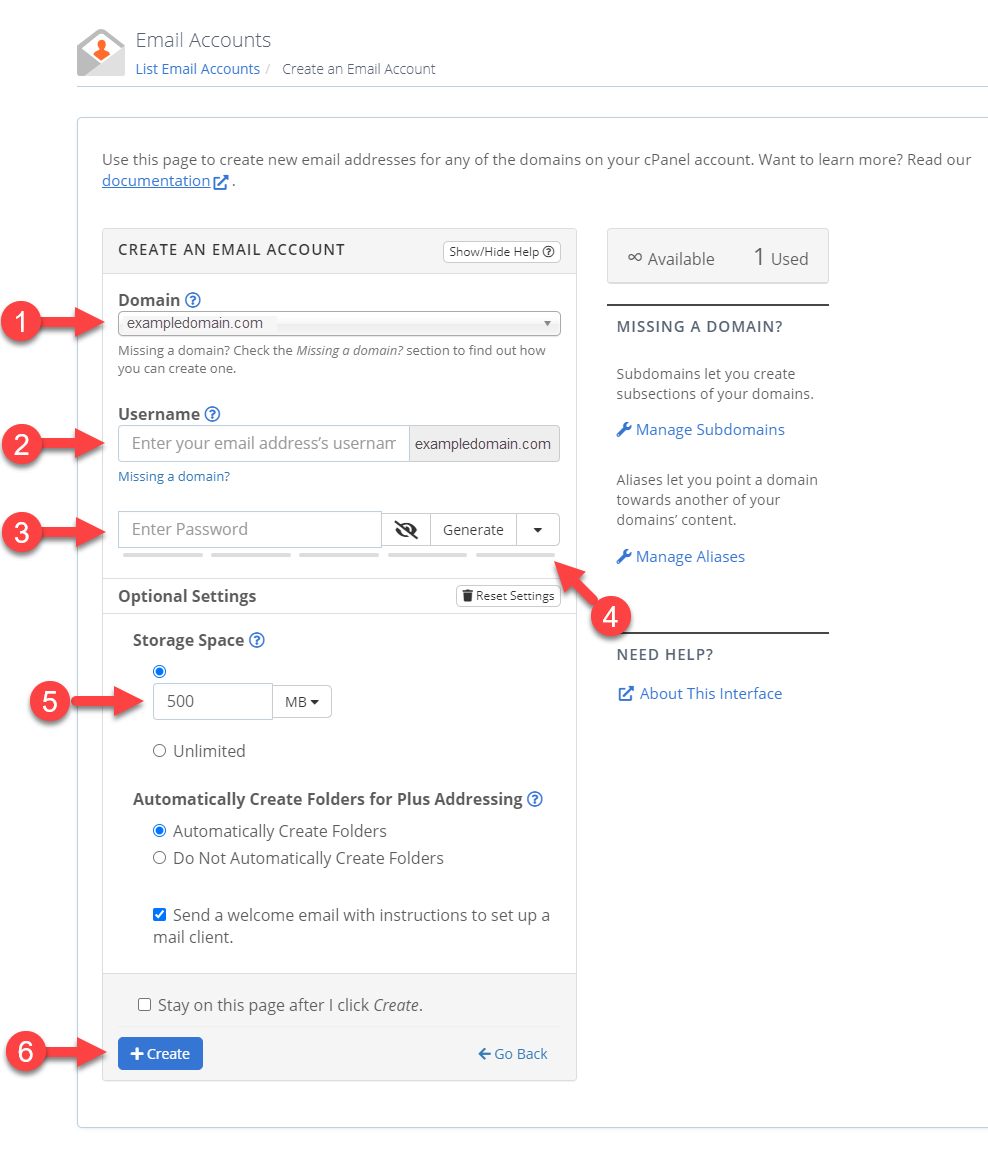
- Under Domain, choose the specific domain where you would like to create an email address at.
- In the Username text box, type the user you would like to use (Jsmith.)
- In the Password text box, type the password you would like for this email account.
- The Password Strength Meter will tell if the password you have entered is strong enough. We highly recommend you use a strong password.
- The Mailbox quota (optional) text box is used to specify the amount of your overall hosting storage allocated for that specific email account. The default that should be listed is 500 MB. You can increase or decrease this number as you desire, depending on the hosting package that you currently have.
- Once the User, Password, and Quota are all accurate, click the Create button.
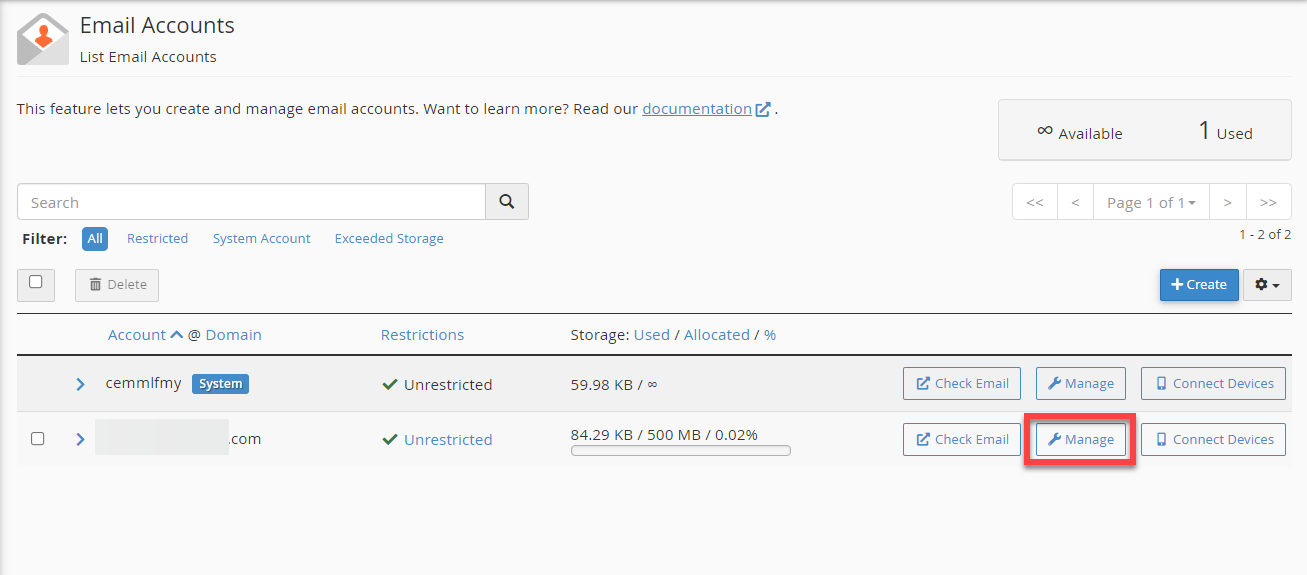
Viewing your current email accounts
Once created, click back into the Email Accounts section to view your active email addresses. You can search for email accounts by email address, username, or domain name. To know more about different webmail client options, please refer to this article, How To Access Webmail - What Is Webmail?
Deleting email accounts
To delete an email account once you have accessed the Email Accounts section:
Account Manager
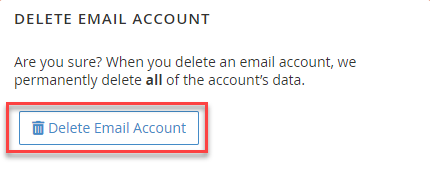
- Under Email Accounts, click on the Manage button.
- Scroll down and then click on the Delete Email Account button.
Bluerock
- Click Manage next to the email account you wish to remove an address from.

- Locate the address you wish to remove and click the Manage button.

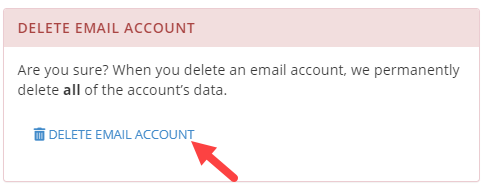
- Please scroll down to DELETE EMAIL ACCOUNT and click it.
- Click the Delete button to confirm the deletion.
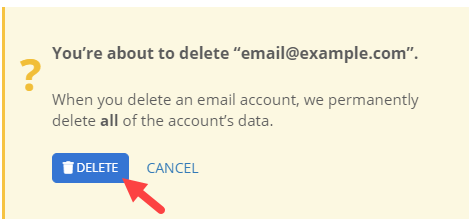
Note: This will delete all of the emails associated with this email account permanently.
Changing the quota of an email account
Note: Steps below are applicable in both Account Manager and Bluerock experience. To Change the quota of an email account once you have accessed the Email Accounts section.
- Under email settings, scroll down and locate the Storage section and enter a new quota for the email account.

Note: You may also choose Unlimited Storage by clicking the radio button.
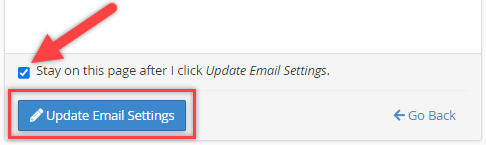
- Click the Update Email Settings button to save changes.
Note: To stay on the current page after clicking Update Email Setting, click the checkbox.
Changing the password of an email account
Note: Steps below are applicable in both Account Manager and Bluerock experience. To Change the quota of an email account once you have accessed the Email Accounts section.
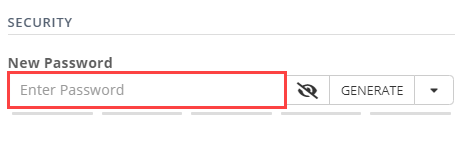
- Under email settings, scroll down to locate the Security section and enter your preferred new password.
Note: You may also click the Generate button to have a strong suggested password from our system.
- Click the Update Email Settings button to save changes.
If you need further assistance, feel free to contact us via Chat or Phone:
- Chat Support - While on our website, you should see a CHAT bubble in the bottom right-hand corner of the page. Click anywhere on the bubble to begin a chat session.
- Phone Support -
- US: 888-401-4678
- International: +1 801-765-9400
You may also refer to our Knowledge Base articles to help answer common questions and guide you through various setup, configuration, and troubleshooting steps.